This tutorial is intended for people who do not have any familiarity with the command line interface or with the the KDE desktop environment. The tutorial will provide you with a quick overview of some simple shell commands to manipulate files and directories and to compile and run programs. This tutorial assumes that you are using one of the machines in the Computer Science lab.
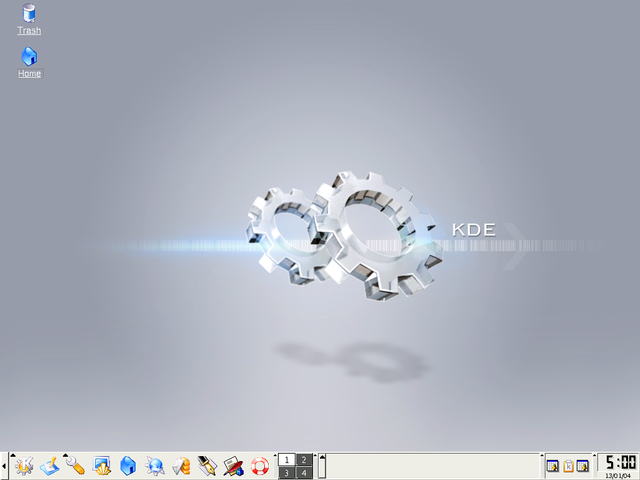
After logging in to the Linux machines in the Computer Science lab, you will be presented with the main desktop, which is not unlike desktops of other operating systems.
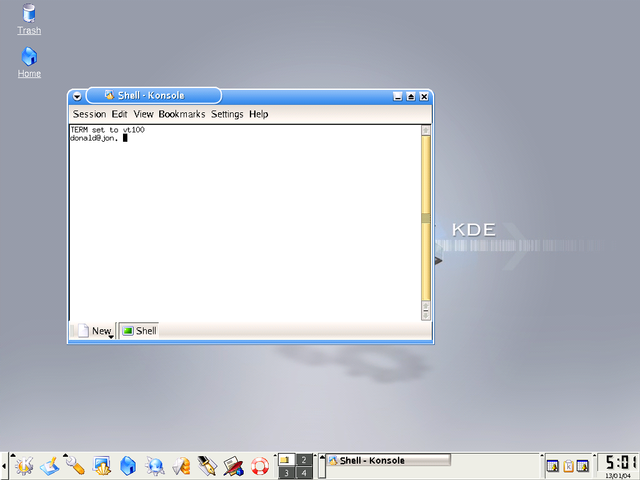
You can get access to a shell by clicking the terminal/shell icon
 in the panel along the bottom of the screen.
You will be presented with a new window that displays a prompt after
which you can type commands and compile/run your own programs.
in the panel along the bottom of the screen.
You will be presented with a new window that displays a prompt after
which you can type commands and compile/run your own programs.
For the purposes of this tutorial, it will be assumed that your prompt inside the terminal is simply a dollar sign:
$
By default, when you start a shell, you will be placed in your home
directory. You can get a listing of the files by using the ls
command:
$ ls
There are several options to the ls command. You can specify
the options by using a minus sign and a letter representing the option:
For example, to display a more detailed listing of the files and directories
in your home directory, you can use the -l option:
$ ls -l
By default, ls does not display files/directory names
beginning with a dot. To display these files and directories, use the
-a option:
$ ls -a
You can combine both the -a and -l options
if you want:
$ ls -al
When listing a directory with -a you will note the presence
of two special directory names .
(dot) and .. (dot dot). The
. directory represents the current
directory, the .. directory represents the
parent directory. As with most operating systems files and directories
are organized in a hierarchical structure. A directory may contains files
and other directories and the directory itself may be a subdirectory
inside a parent directory. You can change to a directory by using the
cd command. For example, the command:
$ cd ..
changes to the parent directory. Simply giving the cd command
with no argument returns you to your home directory.
$ cd
You can create your own directories. For example, to create and
change into a directory to store your 3710 assignments, use the
mkdir and cd commands as follows:
$ mkdir 3710
$ cd 3710
You can even create subdirectories to hold your programs for each assignment
by creating subdirectories while inside your 3710 directory.
For example, the command:
$ mkdir a1 a2 a3 a4 a5 a6 a7 a8 a9
will create nine subdirectories inside your 3710 directory.
You can now change into the first directory (a1) and create
a new file using an editor (e.g. vim, pico,
etc.). For new students, I would recommend that you use and editor with
which you are comfortable -- kate might be a good option.
You can start kate from the command line. e.g.:
$ cd a1
$ kate a1q1.c
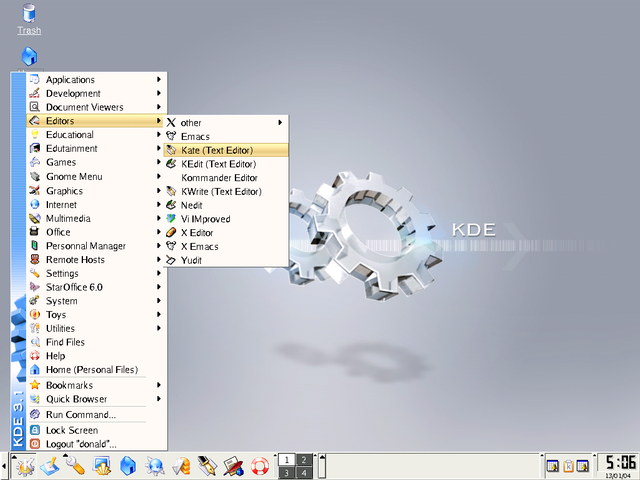
This editor is also accessible from the Editors submenu of the main K Menu which is located in the far left of the panel at the bottom of the screen.
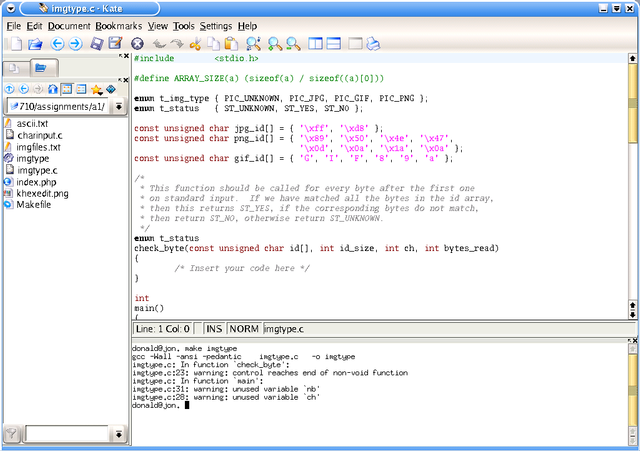
Here is a screenshot of the kate editor. Note that there
is a terminal subwindow below the editor where you can type in commands
to compile your program. You can select files to edit using the file
selection subwindow to the left.
You can use the cp, mv and rm
commands to copy, rename/move and remove files respectively. For
example, to make a backup copy of a program, you can use the
cp command:
$ cp a1q1.c a1q1-2.c
To rename this backup copy, you can use the mv command:
$ mv a1q1-2.c a1q1.c.backup
Note that the mv command can also be used to move a file
to another directory. For example, to create a new directory and move
the backup file to this directory, give the command:
$ mkdir backup
$ mv a1q1-2.c backup
As can be seen by the previous command, if the last argument to the
mv command is a directory, then the file and directory names
specified before it (a1q1-2.c in the above example) will be
moved to that directory. (The same idea applies to the cp
command.)
You can use the rm command to remove files. For example,
the command:
$ rm backup/a1q1-2.c.backup
Removes the file a1q1-2.c.backup from the backup
directory. The backup directory itself is not removed.
Note that once a file is removed, it cannot be recovered.
You can remove directories using the rmdir command. For example:
$ rmdir backup
Note that before a directory can be removed, you must remove all files and subdirectories from the directory first.
If you wanted to remove a directory (and all the files and subdirectories
located in it), you can use the -r option to recursively
remove a directory and all of its contents.
$ rm -r old
Obviously, you should use the above command with extreme caution.
less
The less command can be used when all you want to do is
view the contents of a file. For example:
$ less /etc/printcap
will show you the contents of the file /etc/printcap
one screenful at a time. To move to the next screenful, press the space
bar, to go go backup, press Ctrl-B. To quit less,
press q.
less is what's commonly referred to as a pager
program because it displays output one page at a time. Another common
use of this program is to view the output of a program that produces a
lot of output. For example:
$ ls -laR |less
The above command generates a recursive, long listing of all files in
the current directory and pipes the output to the less program.
You can then move back and forth through the output, as described above.
man pages
Manual pages (commonly referred to as man pages) can be
accessed using the man command. For example, the command:
$ man isalpha
will display information related to the the C library's
isalpha() function. Depending upon your settings, these
pages may be displayed using the less program, so you
can page forward and backwards through them and press q
when finished.
Note that the manual pages are broken up into several sections and using
the man command will display the page from the first
section that it finds that contains the topic you requested. This
may not always be what you want. For example, using:
$ man printf
will give you the description of the command printf
instead of the C library function. Many of the C functions
are available in section 3 of the manual pages. You can explicitly specify
the section number in the man command itself:
$ man 3 printf
Of course, much information related to the standard C
functions is available on the web. SGI maintains a
man page website.
Section
3 man pages may be helpful to you during this course.
In addition to manipulating files and directories on the command line, you can also compile and run programs on the command line as well. More information regarding how to compile and execute C, C++ and perl programs using the command line was given on the first day of lectures.
When submitting your assignments, you are also expected to submit output results from testing your programs. In order to capture the output from your program, you can redirect standard output to a file, as follows:
$ ./a.out > output.file
This will run the program named a.out and send all output
to the file name output.file. Note that this file
(output.file) will be created if it doesn't exist and
will be overwritten if it already exists. Be careful
not to accidentally overwrite any of your files that you want to keep.
Another method of capturing output is the script command;
however, that is more commonly used to record interactive input/output
(it is not necessary to use the script command if you just
wish to capture output -- you can simply use redirection in this case).
$ script
Script started, file is typescript
$ ./a.out
...program output...
$ exit
Script done, file is typescript
This will create a file named typescript which will
contain a verbatim copy of all the commands you type and their output.
The file will be overwritten if it already exists. Remember to type
exit to finish off the script command.
Many of the directory/file related commands can also be done with
Konqueror, which is the default file manager that
comes with KDE. To open Konqueror, click on the the icon on this icon
 in the panel at the bottom of
the screen.
in the panel at the bottom of
the screen.
Here is the konqueror window shown the contents of the
/usr/share/abisource/AbiWord/help/images directory:
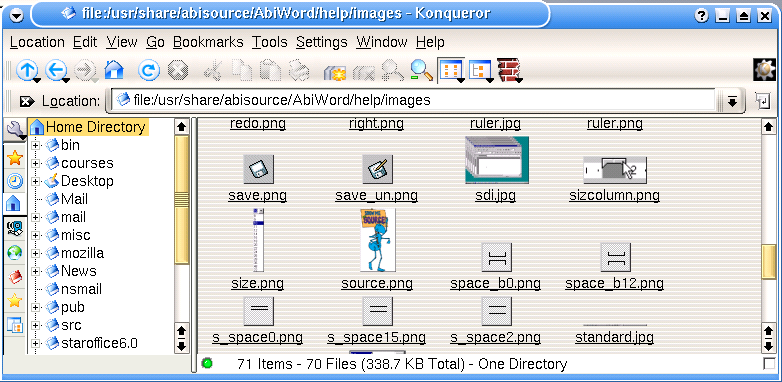
New directories can be created by right-clicking on an empty area in the window containing all the files, and selecting Create new.... (Of course, you have to have permission to create the directory, which shouldn't be a problem in your home directory.) Files can be renamed and erased by right-clicking on them and selecting the appropriate option in the context-menu.
You can read a brief, but well written tutorial on the UNIX command line courtesy of the University of Surrey's Electronic Engineering Department. The first three or four tutorials listed there should be helpful. A more detailed tutorial regarding UNIX usage can be found on the Idaho State University web site. Note that some of these tutorials may be specific to the actual sites but for the most part the general ideas are the same.
Last modified: January 13, 2004 17:29:02 NST (Tuesday)